CSS Radio Buttons and Checkboxes

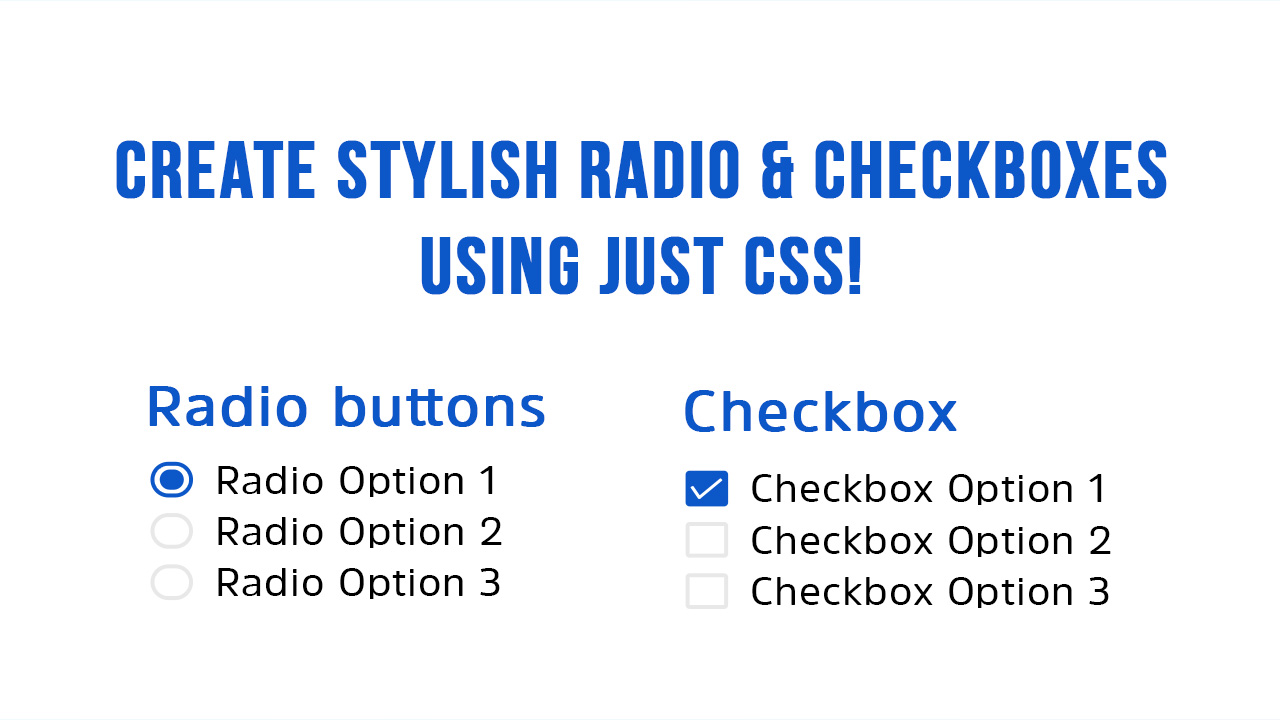
Are you tired of the dull and uninspiring default styles of radio buttons and checkboxes? It's time to level up your user interface design with our step-by-step guide to creating stylish and modern input controls using just CSS!
Begin by creating a basic HTML structure for your radio buttons and checkboxes. Each input control should be wrapped in a container div with the appropriate class (radio-input for radio buttons and checkbox-input for checkboxes). Customize the input id, name, and label text as needed for your form.
<!DOCTYPE html>
<html lang="en">

<head>
  <meta charset="UTF-8">
  <meta name="viewport" content="width=device-width, initial-scale=1.0">
  <title>Create Stylish Radio Buttons and Checkboxes with CSS!</title>
</head>

<body>
  <div style="display: flex; flex-direction: column; align-items: center; justify-content: center; width: 100%; height: 85vh;">
    <h1 style="font-size: 24px; text-align: center; color: #0c57c8;">Create Stylish Radio and Checkboxes with just CSS!</h1>
    <div style="display: flex; flex-direction: column; gap: 0.6rem;">
      <h2>Radio Buttons</h2>
      <div class="radio-input">
        <input name="control-lists" type="radio" checked="checked" id="radio1" value="">
        <label for="radio1">Custom Text</label>
      </div>
      <div class="radio-input">
        <input name="control-lists" type="radio" id="radio2" value="">
        <label for="radio2">Custom 1</label>
      </div>
    </div>

    <div style="padding-bottom:50px;"></div>

    <div style="display: flex; flex-direction: column; gap: 0.6rem;">
      <h2>Checkbox</h2>
      <div class="checkbox-input">
        <input name="control-lists" type="checkbox" id="checkbox1" value="">
        <label for="checkbox1">Custom Text</label>
      </div>
      <div class="checkbox-input">
        <input name="control-lists" type="checkbox" id="checkbox2" value="">
        <label for="checkbox2">Custom Text</label>
      </div>
      <div class="checkbox-input">
        <input name="control-lists" type="checkbox" id="checkbox3" value="">
        <label for="checkbox3">Custom Text</label>
      </div>
    </div>
  </div>
</body>

</html>
Copy and paste the provided CSS styles into your stylesheet. These styles define the appearance and animation of the radio buttons and checkboxes. Feel free to customize the colors, sizes, and transitions to match your website's design aesthetic.
body {
  margin: 0;
  font-family: 'Segoe UI', Tahoma, Geneva, Verdana, sans-serif;
  font-size: 18px;
}

.checkbox-input,
.radio-input {
  position: relative;
  display: inline-block;
  padding-left: 24px;
}

.checkbox-input input[type=checkbox],
.radio-input input[type=radio] {
  display: none;
}

.checkbox-input label,
.radio-input label {
  font-size: 14px;
  margin: 0;
  line-height: 22px;
  color: #4a4548;
  display: block;
  font-weight: normal;
}

.checkbox-input label:before {
  content: "";
  display: inline-block;
  width: 16px;
  height: 16px;
  margin-right: 10px;
  position: absolute;
  left: 0;
  top: 1px;
  background-color: #fff;
  border: solid 1px #ddd;
  border-radius: 3px;
  transition: all 0.5s;
}

.checkbox-input input[type=checkbox]:checked+label:before {
  background-color: #0c57c8;
  border-color: #0c57c8;
}

.checkbox-input input[type=checkbox]:checked+label:after {
  content: "";
  position: absolute;
  top: 3px;
  left: 2px;
  width: 10px;
  height: 4px;
  border: solid 2px transparent;
  border-left-color: #fff;
  border-bottom-color: #fff;
  transform: rotate(-45deg);
  border-radius: 2px;
}

/*********************************************/
.radio-input input[type=radio]:checked+label:before {
  border-color: #0c57c8;
}

.radio-input label:before {
  content: "";
  display: inline-block;
  width: 16px;
  height: 16px;
  margin-right: 10px;
  position: absolute;
  left: 0;
  top: 1px;
  background-color: #fff;
  border-radius: 50%;
  border: solid 2px #ddd;
}

.radio-input input[type=radio]+label:after {
  background-color: #0c57c8;
  content: "";
  position: absolute;
  top: 10px;
  left: 10px;
  width: 0px;
  height: 0px;
  border-radius: 50%;
  transition: all 0.2s;
}

.radio-input input[type=radio]:checked+label:after {
  width: 10px;
  height: 10px;
  top: 6px;
  left: 5px;
}

.flexCol {
  display: flex;
  flex-direction: column;
  gap: 0.5rem;
}
Integrate the HTML and CSS code into your project, and you'll instantly transform your radio buttons and checkboxes into stylish and visually appealing input controls. Test your new UI enhancements across different devices and browsers to ensure a consistent and polished user experience.

With just a few lines of CSS, you can revamp your user interface and create a more engaging and intuitive form experience for your website visitors. Experiment with different styles and effects to achieve the perfect look for your project. Let's elevate your UI design with stylish radio buttons and checkboxes today!
See the full video:
- CSS
- Front End Development
- CSS3
- Custom Radio Button
- Custom Checkbox
- Custom Radio Checkbox
- CSS Animation