Quick Guide: Installing Visual Studio Code

Are you ready to dive into coding with Visual Studio Code? Follow this quick guide to install it on your computer and start coding right away!
Head over to the official Visual Studio Code website at code.visualstudio.com. This is where you'll find the latest version of Visual Studio Code for download.
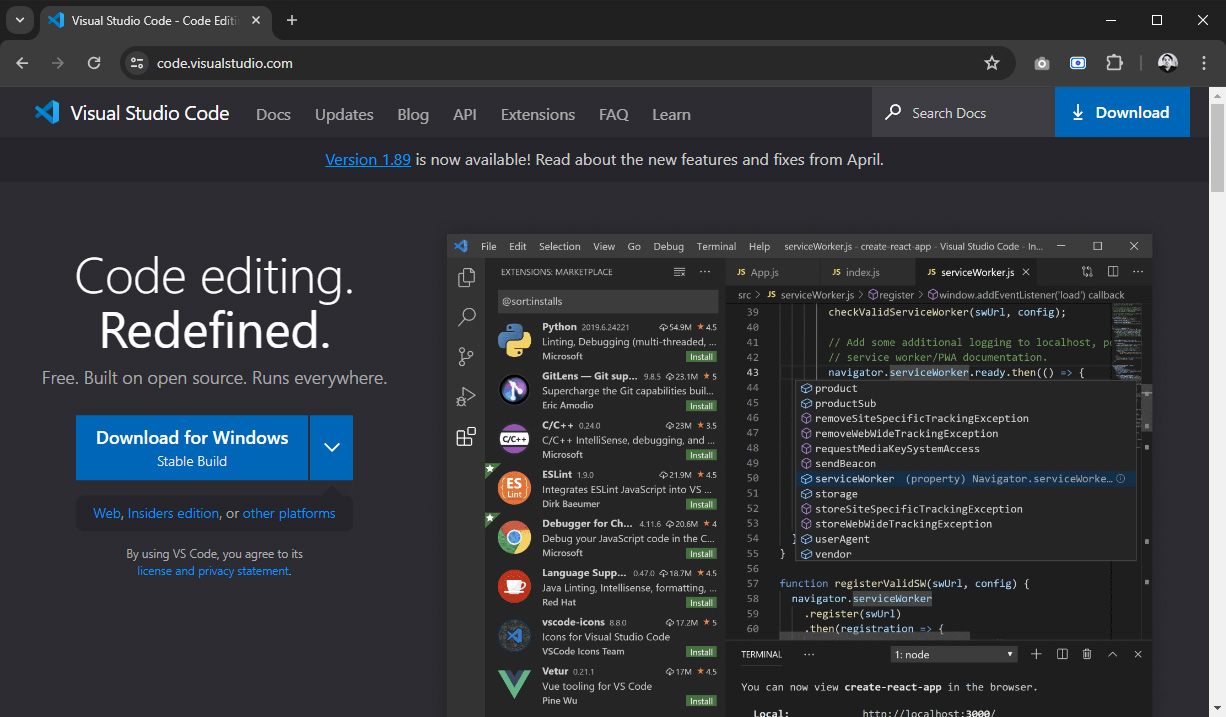
Once you're on the website, navigate to the Download section. Here, you'll find options for different operating systems, including Windows, macOS, and Linux. Choose the version that's compatible with your system.
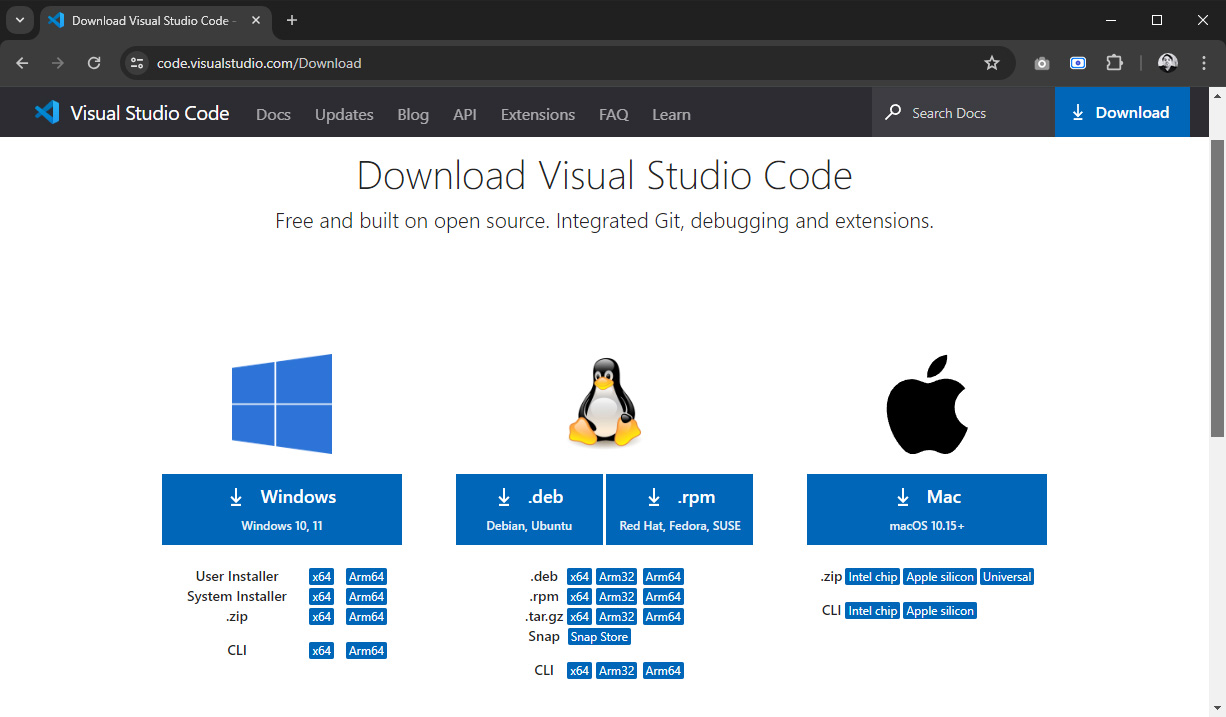
Select the version of Visual Studio Code that matches your operating system. Whether you're using Windows, macOS, or Linux, there's a version available for you.
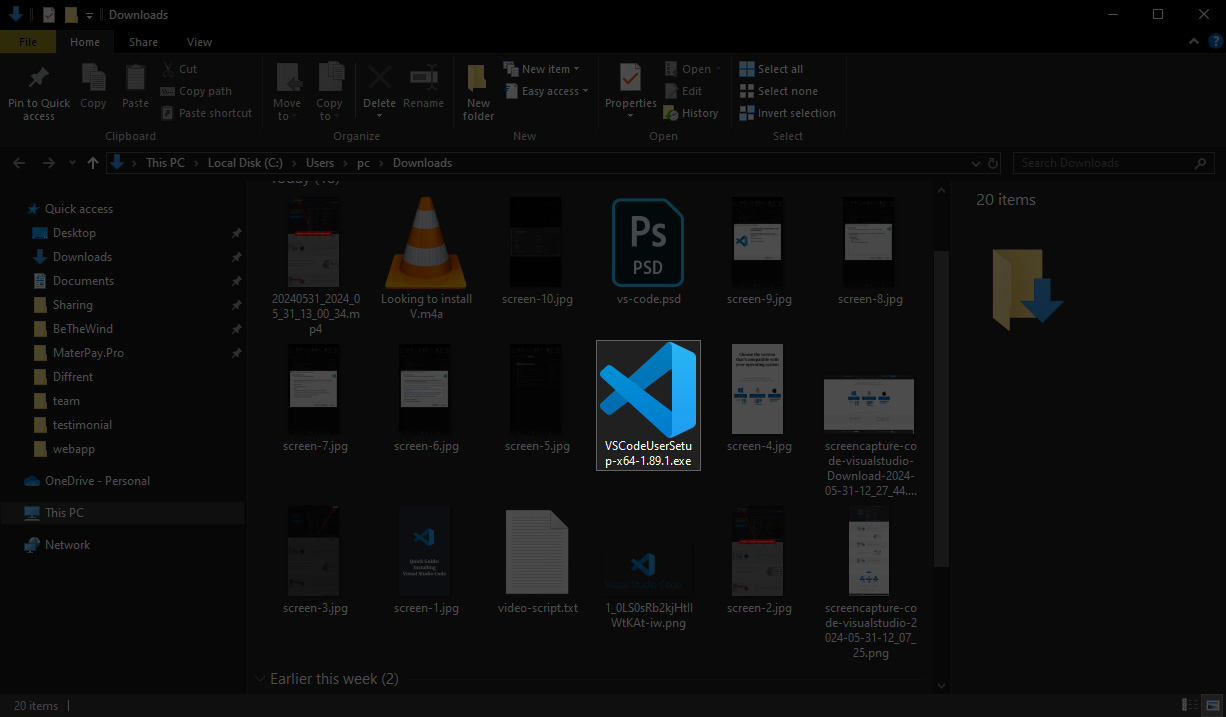
Once you've selected the correct version, click on the download link to start the download process. Once the download is complete, locate the installer file on your computer and open it.
Follow the on-screen instructions to complete the installation process. This typically involves agreeing to the terms and conditions, choosing installation options, and selecting the installation directory.
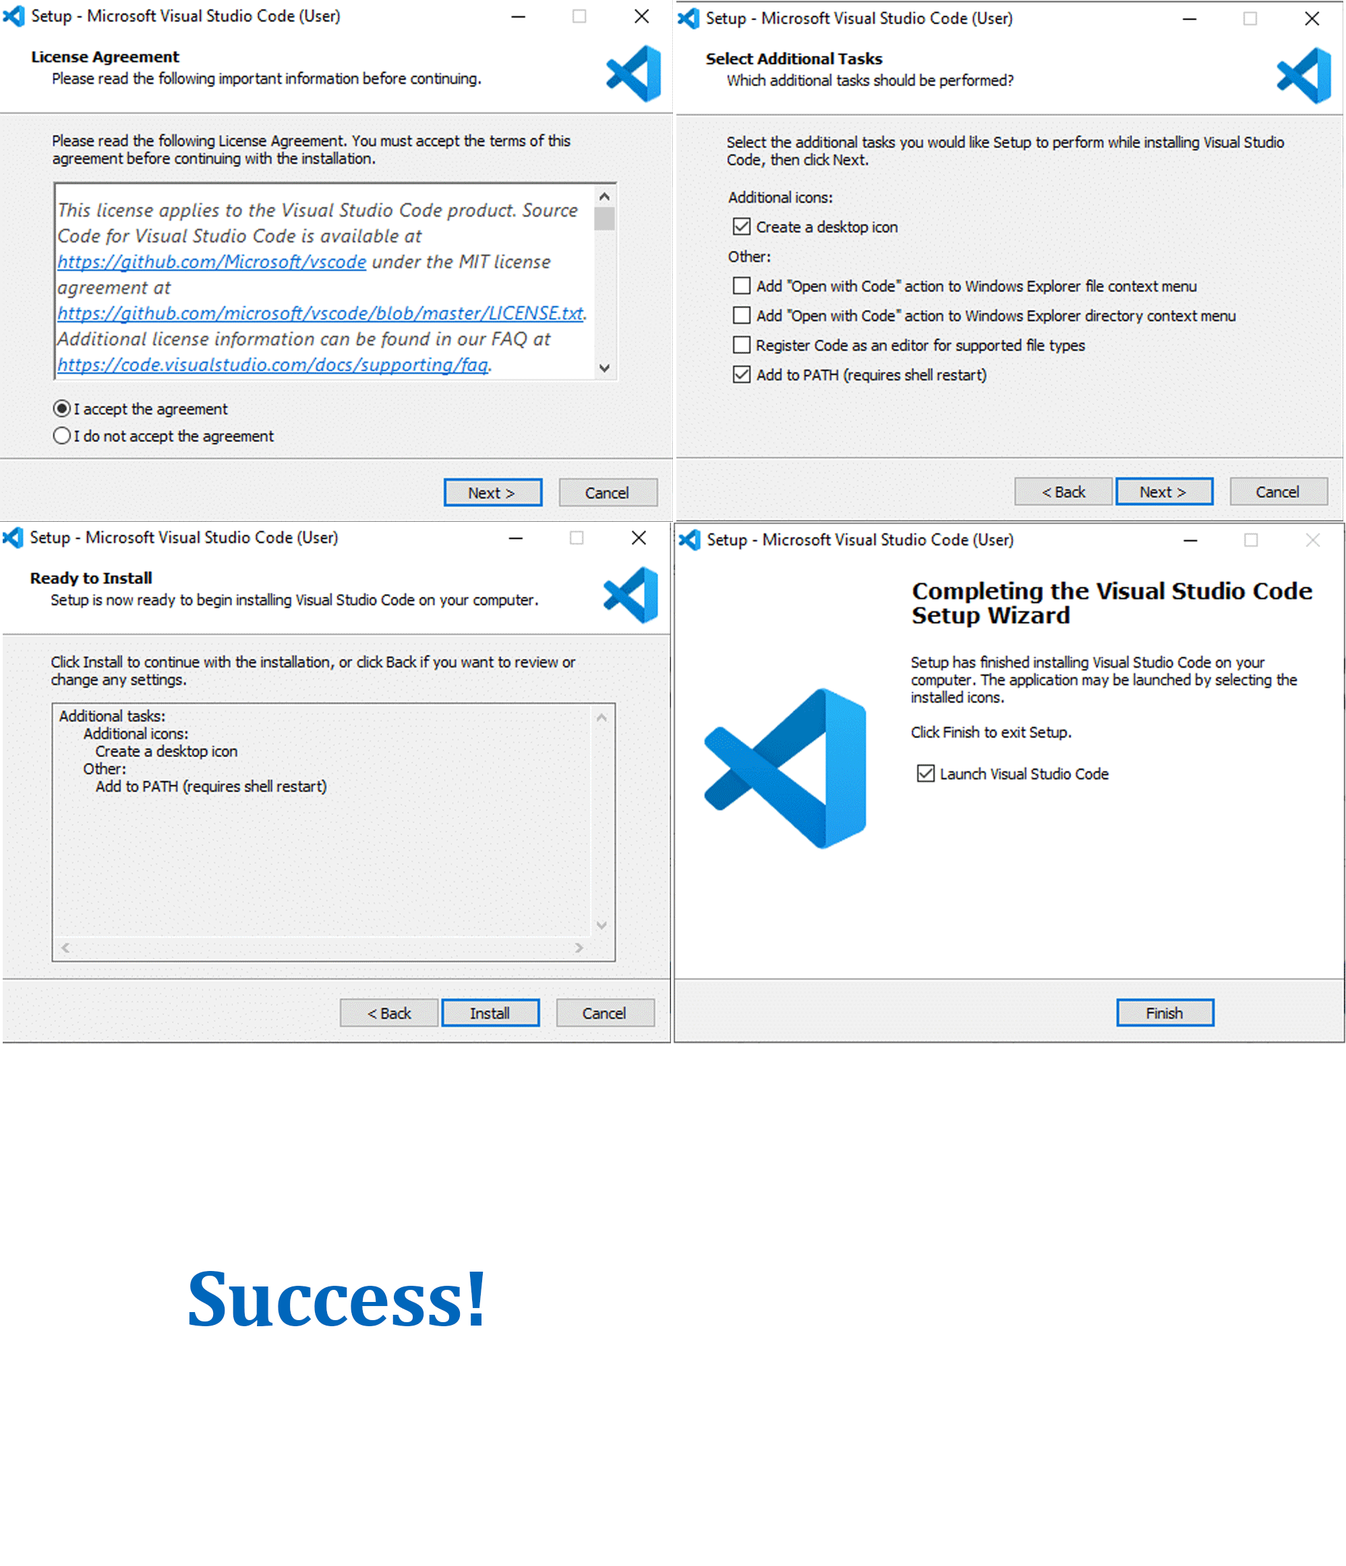
Once the installation is complete, you're ready to start coding with Visual Studio Code! Launch the application and begin your coding journey.
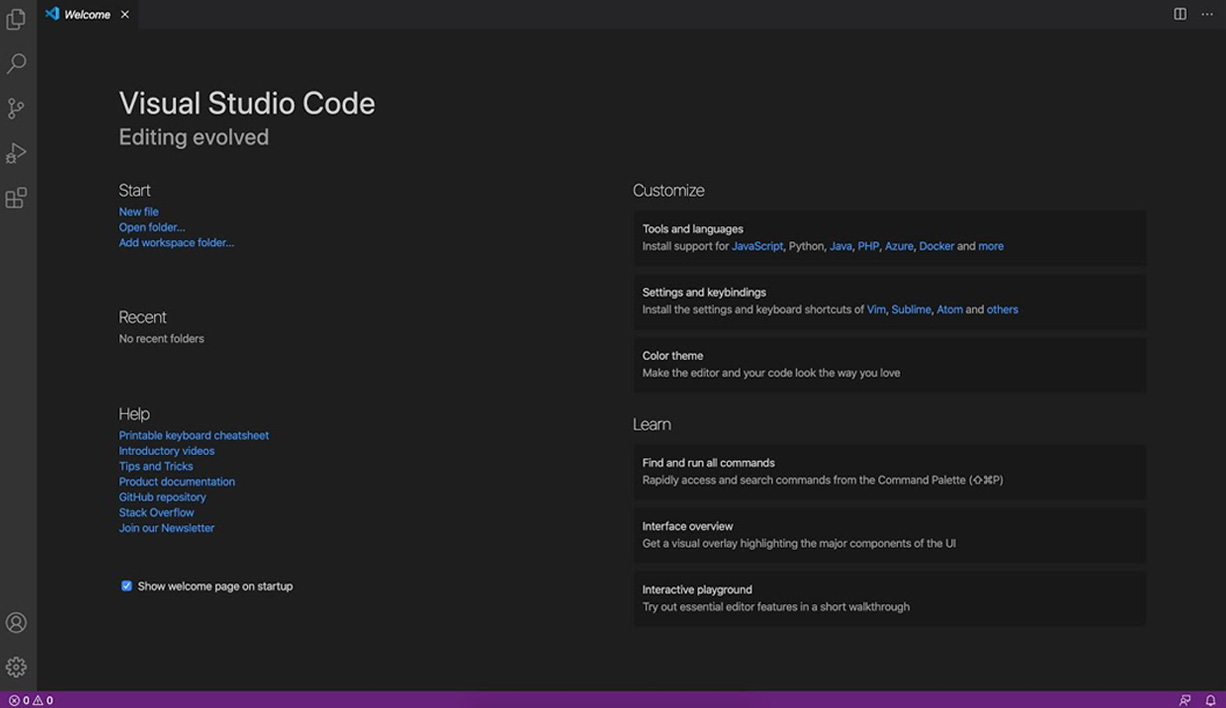
And there you have it! With just a few simple steps, you've successfully installed Visual Studio Code on your computer. Happy coding!
Stay tuned for more tips and tutorials from Innovate Code Institute. Don't forget to subscribe to our blog for the latest updates!
See the full video:
- CSS
- CSS3 Flexbox
- Front End Development
- Sticky Footer
- Footer Stay Bottom
- Flexbox Footer
- CSS Footer Sticky